How to Build a Dog Wash Station: The Ultimate DIY Guide

Pet ownership is a rewarding experience, but it comes with responsibilities—like keeping your furry friend clean and healthy. Did you know that nearly 67% of U.S. households own a pet? With such high numbers, grooming has become an essential part of pet care. One way to simplify this task is by building a DIY dog wash station at home. Not only does it save time and money, but it also reduces the stress associated with bathing your dog in a traditional tub or sink. In this comprehensive guide, we’ll walk you through everything you need to know about creating a functional and stylish home dog washing station tailored to your needs.
This article will cover all aspects of planning, designing, and constructing a dog wash station . Whether you’re working with limited space or have room for a full-scale grooming area, we’ve got you covered. By the end of this guide, you’ll have a clear understanding of how to create a setup that works for both you and your pet. Let’s dive in!
Why You Need a Dog Wash Station
Bathing your dog can be messy and inconvenient without the right setup. A dedicated home made dog wash station streamlines the process, making it easier for you and more comfortable for your pet. For starters, professional grooming services can cost anywhere from $30 to over $100 per session. By investing in a home solution, you’ll save money in the long run while ensuring your dog gets cleaned on your schedule.
A well-designed DIY dog wash station also minimizes mess. Traditional bathtubs often lack proper drainage, leading to water pooling and potential damage to your floors. With a custom-built station, you can incorporate features like non-slip surfaces and efficient drainage systems. Additionally, having a designated space reduces the likelihood of accidents, such as slipping or injury during bath time.
For multi-pet households, a home dog washing station becomes even more valuable. It allows you to maintain consistency in grooming routines, which is crucial for managing shedding, skin conditions, and overall hygiene. Plus, many dogs feel less anxious when bathed in familiar surroundings, reducing stress for everyone involved.
Planning Your Dog Wash Station
Before grabbing tools and materials, take some time to plan your project carefully. Proper preparation ensures your dog wash station meets your needs and fits seamlessly into your home. Start by assessing your available space. Consider whether you want the station indoors or outdoors. Indoor setups are ideal for year-round use, especially in colder climates, while outdoor stations provide ventilation and minimize indoor messes. An outdoor dog shower , for example, is perfect for warmer months and larger breeds.
Location is another critical factor. If possible, choose a spot near plumbing and electrical outlets to simplify installation. Bathrooms, laundry rooms, and garages are popular choices due to their proximity to water sources. However, if these areas aren’t feasible, portable options exist that allow flexibility. Accessibility is key; ensure the station is easy to reach for dogs of all sizes and mobility levels.
Budgeting is equally important. While DIY dog wash stations can save money, costs vary depending on the complexity of your design and the materials used. Basic setups might require just a few hundred dollars, while more elaborate designs could exceed $1,000. Decide what features are essential versus optional, and allocate funds accordingly.
Essential Components of a Dog Wash Station
A successful home dog washing station incorporates several key components. First and foremost is the tub or basin. Elevated tubs are highly recommended because they reduce back strain and make it easier to handle larger breeds. Alternatively, portable tubs offer versatility, allowing you to move the station as needed. When choosing a tub, consider its size relative to your dog’s breed and weight. This is especially important if you’re aiming for a DIY dog wash station that accommodates multiple pets.
Non-slip flooring is another must-have feature. Dogs tend to panic during baths, so providing a secure surface prevents slips and falls. Rubber mats or textured tiles work well for this purpose. If you’re building a custom basin, consider adding built-in traction pads directly into the design. This is particularly useful for an outdoor dog shower , where weather conditions may affect stability.
Water supply and drainage are also crucial elements. Install a handheld showerhead or sprayer for precise rinsing. Ensure there’s a reliable drainage system in place to avoid water accumulation. Options include floor drains, hoses connected to exterior outlets, or even simple buckets for smaller setups. Proper drainage not only keeps your workspace clean but also protects your home from water damage.
Grooming tools and accessories complete the package. Stock up on essentials like shampoo dispensers, brushes, combs, towels, and dryers. Optional upgrades, such as adjustable-height platforms or grooming arms, enhance functionality and convenience. These additions make the grooming process smoother and more efficient, whether you’re using a home made dog wash station or a professionally installed one.
Safety features should never be overlooked. Secure restraints or harnesses keep dogs stable during baths, preventing them from jumping out unexpectedly. Padding around sharp edges adds an extra layer of protection, ensuring your pet stays safe throughout the process.
Step-by-Step Guide to Building a Dog Wash Station
Now that you’ve planned your project, let’s get into the nitty-gritty of construction. Begin by gathering all necessary materials and tools. Common items include wood or PVC pipes for framing, waterproof sealant, screws, and plumbing fixtures. Tools like drills, saws, and measuring tapes will also come in handy. Having everything ready before starting saves time and frustration, especially when working on a DIY dog wash station .
Next, focus on building the frame. Use sturdy materials to construct a solid base capable of supporting your dog’s weight. Customize the dimensions based on your dog’s size—if you have multiple pets, aim for a design that accommodates the largest one. Reinforce joints and corners to ensure stability. This step is crucial for both indoor and outdoor dog shower setups.
Once the frame is complete, install plumbing fixtures. Connect a faucet or hose attachment to provide running water. Pay close attention to sealing connections to prevent leaks. For drainage, route a pipe or hose to an appropriate outlet. Test the system thoroughly to confirm proper water flow and drainage. These steps ensure your home dog washing station functions smoothly.
Add finishing touches to enhance usability and aesthetics. Apply waterproof coatings to protect surfaces from moisture damage. Install shelves or hooks for storing grooming supplies within arm’s reach. If desired, paint or decorate the station to match your home’s decor. This is especially fun when creating a home made dog wash station , as it allows you to personalize the space.
Finally, test the entire setup before putting it into regular use. Check for any issues, such as wobbly legs or weak seals, and address them promptly. Make adjustments as needed to optimize performance and comfort.
Maintenance Tips for Your Dog Wash Station
Regular maintenance ensures your DIY dog wash station remains functional and hygienic. After each use, clean and sanitize all surfaces to remove dirt, hair, and bacteria. Pay special attention to areas where water tends to pool, as standing water can lead to mold or mildew growth. A quick wipe-down with disinfectant wipes or a diluted bleach solution does the trick.
Inspect the station periodically for signs of wear and tear. Look for loose screws, cracked seals, or damaged parts that may compromise safety or efficiency. Replace worn components immediately to prevent further damage. For example, if the drain becomes clogged, clear it using a plunger or plumbing snake. This applies to both home dog washing stations and outdoor dog showers .
Keep grooming tools organized and in good condition. Regularly check brushes and combs for broken bristles or teeth, and replace them as needed. Store shampoos and conditioners in a cool, dry place to extend their shelf life. By staying proactive, you’ll maximize the lifespan of your home made dog wash station .
Advanced Upgrades for Your Dog Wash Station
If you’re looking to take your DIY dog wash station to the next level, consider incorporating advanced upgrades. Smart technology offers innovative solutions, such as motion-sensor faucets that conserve water and heated floors that provide warmth during colder months. These features not only improve functionality but also add a touch of luxury to your setup.
Eco-friendly options are another great way to enhance your station. Opt for recycled materials when building the frame or choose low-flow fixtures to reduce water consumption. Solar-powered lighting is another sustainable choice, particularly for outdoor dog showers . Going green benefits both the environment and your wallet.
For those seeking indulgence, luxury additions abound. Built-in storage cabinets keep grooming supplies neatly tucked away, while LED lighting creates a welcoming ambiance. Some enthusiasts even install Bluetooth speakers to play calming music during bath time. Whatever upgrades you choose, prioritize features that align with your lifestyle and preferences.
Troubleshooting Common Issues
Even the best-designed home dog washing stations encounter occasional problems. Clogged drains are among the most common issues. To resolve this, remove visible debris and flush the line with hot water. If the blockage persists, use a plumbing snake or contact a professional plumber for assistance.
Leaks and loose fittings can also arise over time. Tighten connections regularly and apply additional sealant as needed. Inspect hoses and pipes for cracks or corrosion, replacing damaged sections promptly. Preventive measures, such as installing shut-off valves, help mitigate risks associated with plumbing failures.
Dealing with anxious or uncooperative dogs requires patience and creativity. Introduce your pet to the station gradually, offering treats and praise to build positive associations. Use calming scents like lavender or chamomile to soothe nerves. If necessary, consult a veterinarian or animal behaviorist for personalized advice. This is especially helpful for pets adjusting to a new DIY dog wash station .
Conclusion
Building a DIY dog wash station at home is a worthwhile investment that pays dividends in convenience, savings, and peace of mind. With careful planning and execution, you can create a functional and stylish home dog washing station tailored to your needs. From selecting the right location to incorporating advanced upgrades, every step contributes to a seamless grooming experience.
FAQs
How much does it cost to build a dog wash station?
Costs vary widely depending on design and materials. Simple setups can cost under $200, while elaborate designs may exceed $1,000.
Can I use my existing bathtub instead of building one?
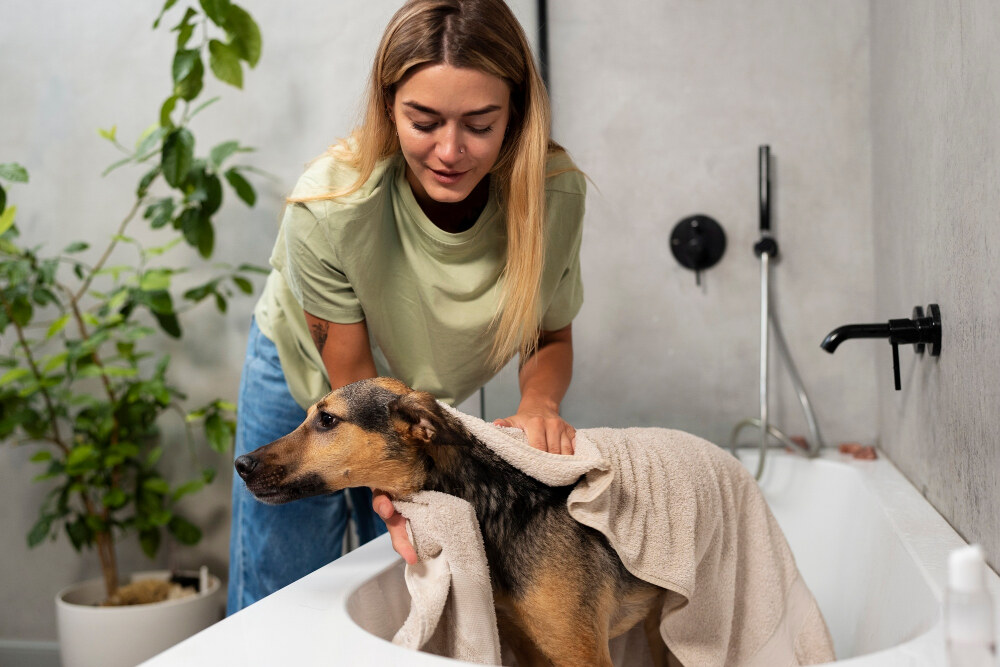
Yes, but modifications like non-slip mats and handheld showerheads are recommended for safety and convenience.
What kind of shampoo should I use?
Choose a shampoo formulated specifically for dogs, avoiding harsh chemicals that irritate their skin.
Is it possible to make a portable dog wash station?
Absolutely! Portable tubs equipped with wheels or handles offer flexibility for small spaces or travel.
Tags
What do you think?
Related Articles

10 Useful Gift Ideas for New Dog Owners
A dog owner needs a lot of things to take care of his/her dog properly. If you want to gift something to a dog owner,

Do Dogs Get Bored of Their Food?
Ever wonder if your pup gets bored of eating the same kibble every day? You’re not alone! Many pet owners notice their dogs losing interest

How to Get Rid of Ants from Dog Food?
Ants invading your dog’s food? Frustrating, right? These tiny pests not only contaminate food but also create a nuisance in your home. Whether you’ve found
